


How to run "Social Selling" on LinkedIn
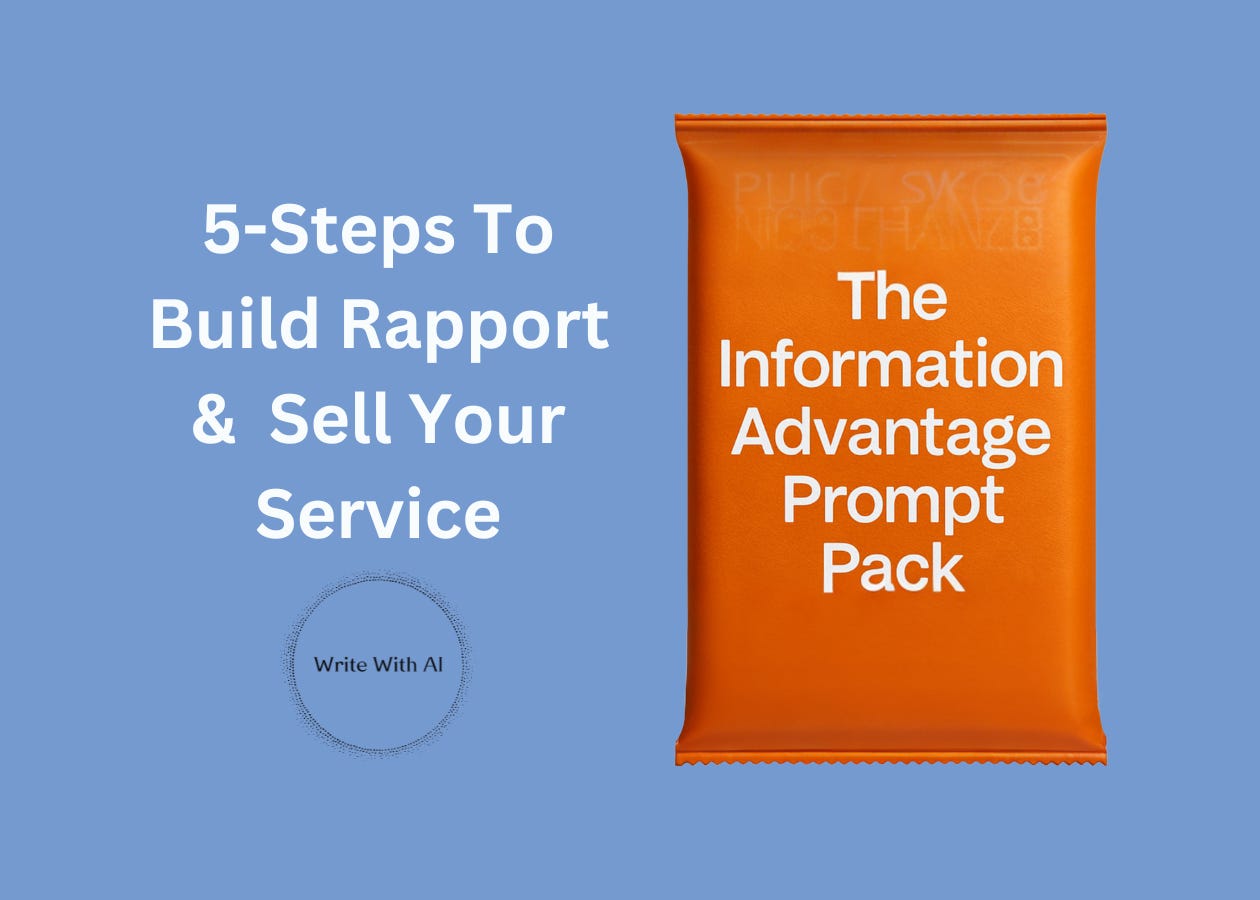
Full Info Advantage Prompt Pack + Fast-Action LinkedIn Bonus


You’ve spent the last 4 days turning your knowledge into leverage:
Now it’s time to go get your first client.
And there’s no better place to start than LinkedIn.
It’s one of the only platforms where you can:
Search by job title
Find decision-makers directly
Show up in their world by adding value
The only problem is LinkedIn does a terrible job at feeding you the posts you need to engage with to run a Social Selling strategy. On top of that, LinkedIn likes to push its paid option, Sales Navigator, as a better way to network and find clients. And while it is a useful tool, it’s good to master the free version of LinkedIn before advancing to that level.
So today, I’ll show you how to run a dead-simple Social Selling strategy on LinkedIn to build real connections so you can start booking client calls—without feeling like a spammer.
Let’s dive in.
What Is Social Selling?
One underrated (but highly effective) way of landing new clients is to use social media to network in your niche.
Here’s how this strategy works:
Step 1: You comment on a potential client’s posts for a few days or weeks, offering unique insights, your opinion, or giving some “Free Consulting”
Step 2: You wait for some kind of acknowledgment or response (like a reply, a retweet, a comment, etc)
Step 3: You reach out to them with a value-first approach message and a connection request
This final step is crucial.
On LinkedIn, if you aren’t connected to a person, you usually can’t message them straight away. You could try sending a connection request as soon as you come across their profile, but most people won’t accept requests from people they don’t know. This is where Social Selling really helps you. Commenting and building rapport with a potential client makes it easier for them to accept your connection request and open up a channel of communication.
Let’s dive into how to use LinkedIn to find and target your ideal clients so you can execute this strategy.
Step 1: Find Your List Of Target Clients
There are several ways to find clients on LinkedIn:
Search by job title. This is obvious. If you want to work with founders, search for founders. If you want to work with sales coaches, search for sales coaches. As with everything, get as specific as possible with your search terms.
Search by keywords in your niche. What are some of the keywords or concepts people use in your niche? Search for them! Then filter your LinkedIn search by post to find the people posting using the same words and language.
Search by hashtag. On LinkedIn, hashtags aren’t dead (yet). People still use them to tag their posts. If you find a relevant one, you can follow this hashtag, and it appears in your navigation bar on the left-hand side (which helps you get to those types of posts quickly).
Search by company. This is where LinkedIn shines. If you want to target a particular company, but don’t know who to contact about your services, find the Company’s page on LinkedIn and then look under the “People” tab to find all the people who work there. Then find the person in the relevant department. Easy!
Let’s say you are targeting YouTube marketing agencies.
A simple keyword search brings up a ton of contacts which you can start to curate into a list. This search had 100 pages of results! So it pays to get specific on who you’re targeting and using those keywords in your search. You can also use the filtering options LinkedIn provides.
After typing in your keywords, you can filter by the type of result:
Posts
People
Groups
Companies
Etc, etc, etc
Filtering by People gives us some potential clients we can target:

And, once you’ve carried out your search, you can narrow down even further using the buttons on the navigation bar or “All Filters” to bring up all the relevant filters.
These filters will change depending on what you are searching for (Posts, People, Companies, etc) but there is a lot of crossover between these options. Here’s a quick rundown on the most useful filters:
Connections (1st, 2nd, 3rd). If you want to see people who you’re connected to, choose “1st”. If you want to see people who are connected to your connections, select 2nd. For people connected to your 2nd degree connections, choose 3rd. This is extremely useful if you want to see who in your network knows the people or companies you are targeting. You never know, they might be able to give you an introduction.
Connections of / Followers of: Let’s say there is a big creator or founder in your niche who posts on LinkedIn. People interested in their work might also be interested in your services. Use this filter to find people who are also following this person.
Industry or Current Company. To niche down even further, you can filter by industry and/or company. This helps you get really specific in your targeting.
Date Posted (for Posts search only). This helps you find the most recent posts that used these keywords. This is a great way to find people actively posting about your niche or topic.
Alright, now you’ve found a potential client, let’s start setting up a system to engage with them.
Step 2: Follow Them (If You Can)
Once you find a target client, the first action you should take is to follow them:
At this point, there are two important things to keep in mind:
People who have “Creator” mode turned on can accept followers. Dickie is a good example here—you can see his Follow button. Once you hit the Follow button, their posts will start to appear in your feed.
If you can’t follow them, they don’t have Creator mode enabled. This is OK. To get their posts in your feed, you would need to connect with them (but don’t, more on this in a second). Not being a connection won’t stop you from commenting on their posts, though.
At this point, you don’t want to send them a connection request (unless you really do know them).
Why? Because you want to save your one shot at sending a personalized connection request message once you’ve built some rapport with them. We will dive into how to do this in Steps 3 and 4.
Pro tip: When you choose to follow someone, you can request to get notified every time they post something on LinkedIn. Don’t! While this might seem like a good idea, it can actually lead to your notifications getting clogged up. With this setup, you quickly become overwhelmed lose track of who you should be engaging with.
Instead, we have a better solution for you.
Step 3: Find Their Activity Feed
Now you’re on your target’s page, let’s find a way to engage with them over and over again (without getting lost in the LinkedIn feed).
If you follow them, their posts will appear in your feed. But just like X, you don’t really have much control over what you see in your feed. And if you’re trying to engage with your potential clients, these default settings won’t work for you.
Here’s how you can view your LinkedIn feed (and why they don’t work for Social Selling):
Top Posts. This is what the algorithm is choosing to feed you. There will be posts from your connections and people you follow. But there will also be plenty of noise: promoted posts and “Top Posts” that LinkedIn is pushing. This makes finding your client’s posts very tricky.
Recent. This is a live feed in the strictest sense. You get to see in real-time the posts coming from those you follow and those you are connected with. Again, there is plenty of noise, and you can’t usefully engage with your target client’s posts (unless you want to spend hours scrolling through the feed!)
Instead, we will put together a shortcut to see your target’s most recent post.
Go to your target client’s profile and scroll down to the Activity section:
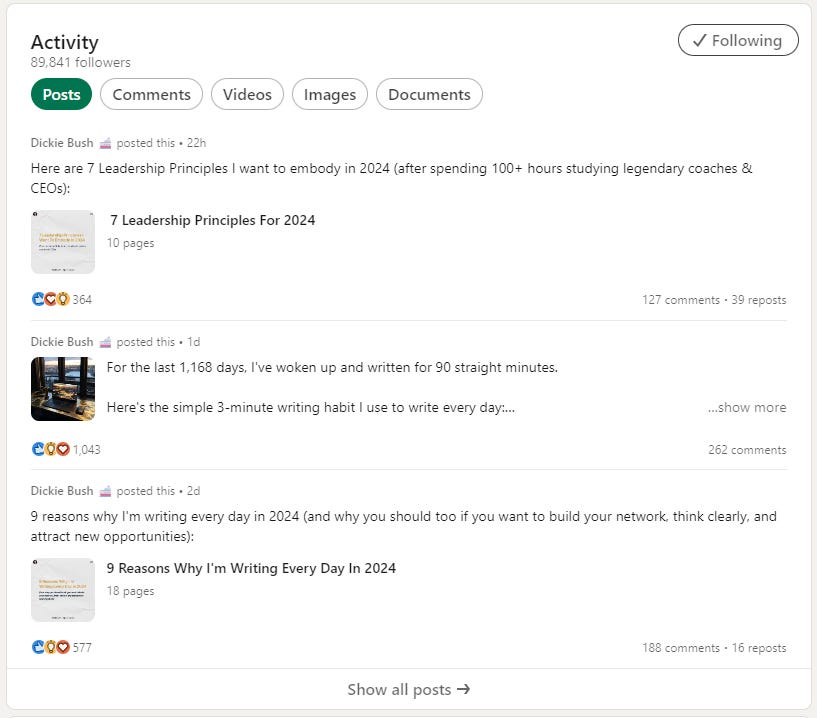
Now click on “Show all posts” and make a note of this URL in a GoogleSheet or Notion Document:

Now you have a direct link to their posts!
So instead of scrolling through the endless feed on LinkedIn, you can go to your target client’s profile and engage on their most recent posts and updates.
But it doesn’t stop there.
Step 4: Find More Connections In The Comments
You can find other potential clients just by looking at comments.
Here’s a breakdown of where to look:
Who’s commenting on their posts? Look for people commenting on their posts and see if they fit the profile you’re targeting with your ghostwriting services. If they do, add them to your target list like you did in Step 4.
Who’s posts are they commenting on? If your target client is active on LinkedIn, chances are they will be commenting on other people in their industry—people you might not know about but who could be clients for you. Keep an eye on their “Comments” in their activity feed to keep adding targets to your list of potential clients.
See how this can easily snowball from a handle of accounts to hundreds of potential clients?
There truly is a wealth of opportunity out there—if you know where to look.
Alright, onto the final step.
Step 5: Comment And Then Connect
Every day you should sit down and spend 30 minutes going through your target list of clients and commenting on their posts.
After a few days of commenting, you can send a value-first connection request to get the conversation going. If your target has been replying to or liking your comments, then reference them in your request. They are more likely to accept it if they recognize you.
And once you’ve opened up a direct message with them, you can lead with value, offer some “Free Consulting” and get your target client on a call.
Here’s a simple, yet effective, DM framework:
Hey {Name},

Compliment them or their work, or a personal note ("bridge the gap" between you and the prospect)

Thought provoking question or statement (related to a problem in their funnel)

Mind if I share more?
The key: Shorter the better
That’s it.
Chat soon,
—Dickie & Cole
Co-Founders of Ship 30 For 30
Co-Founders of Premium Ghostwriting Academy
Co-Founders of Typeshare
Co-Founders of Write With AI
P.S. We put together the complete Information Advantage Prompt Pack to help you take action on everything you learned in this series.
Instead of just reading how to find and pitch high-value writing clients, this gives you plug-and-play AI prompts, templates, and tools so you can start executing immediately.

Inside this Notion library, you’ll get everything you need to land your first $3K–$5K writing client—starting with the exact prompts from this series.
Plus we’ve added 4 new bonus prompts:
The Value Proposition Architect
Client Prospecting Keyword Scanner
LinkedIn DM Assistant
Discovery Call Prep Builder
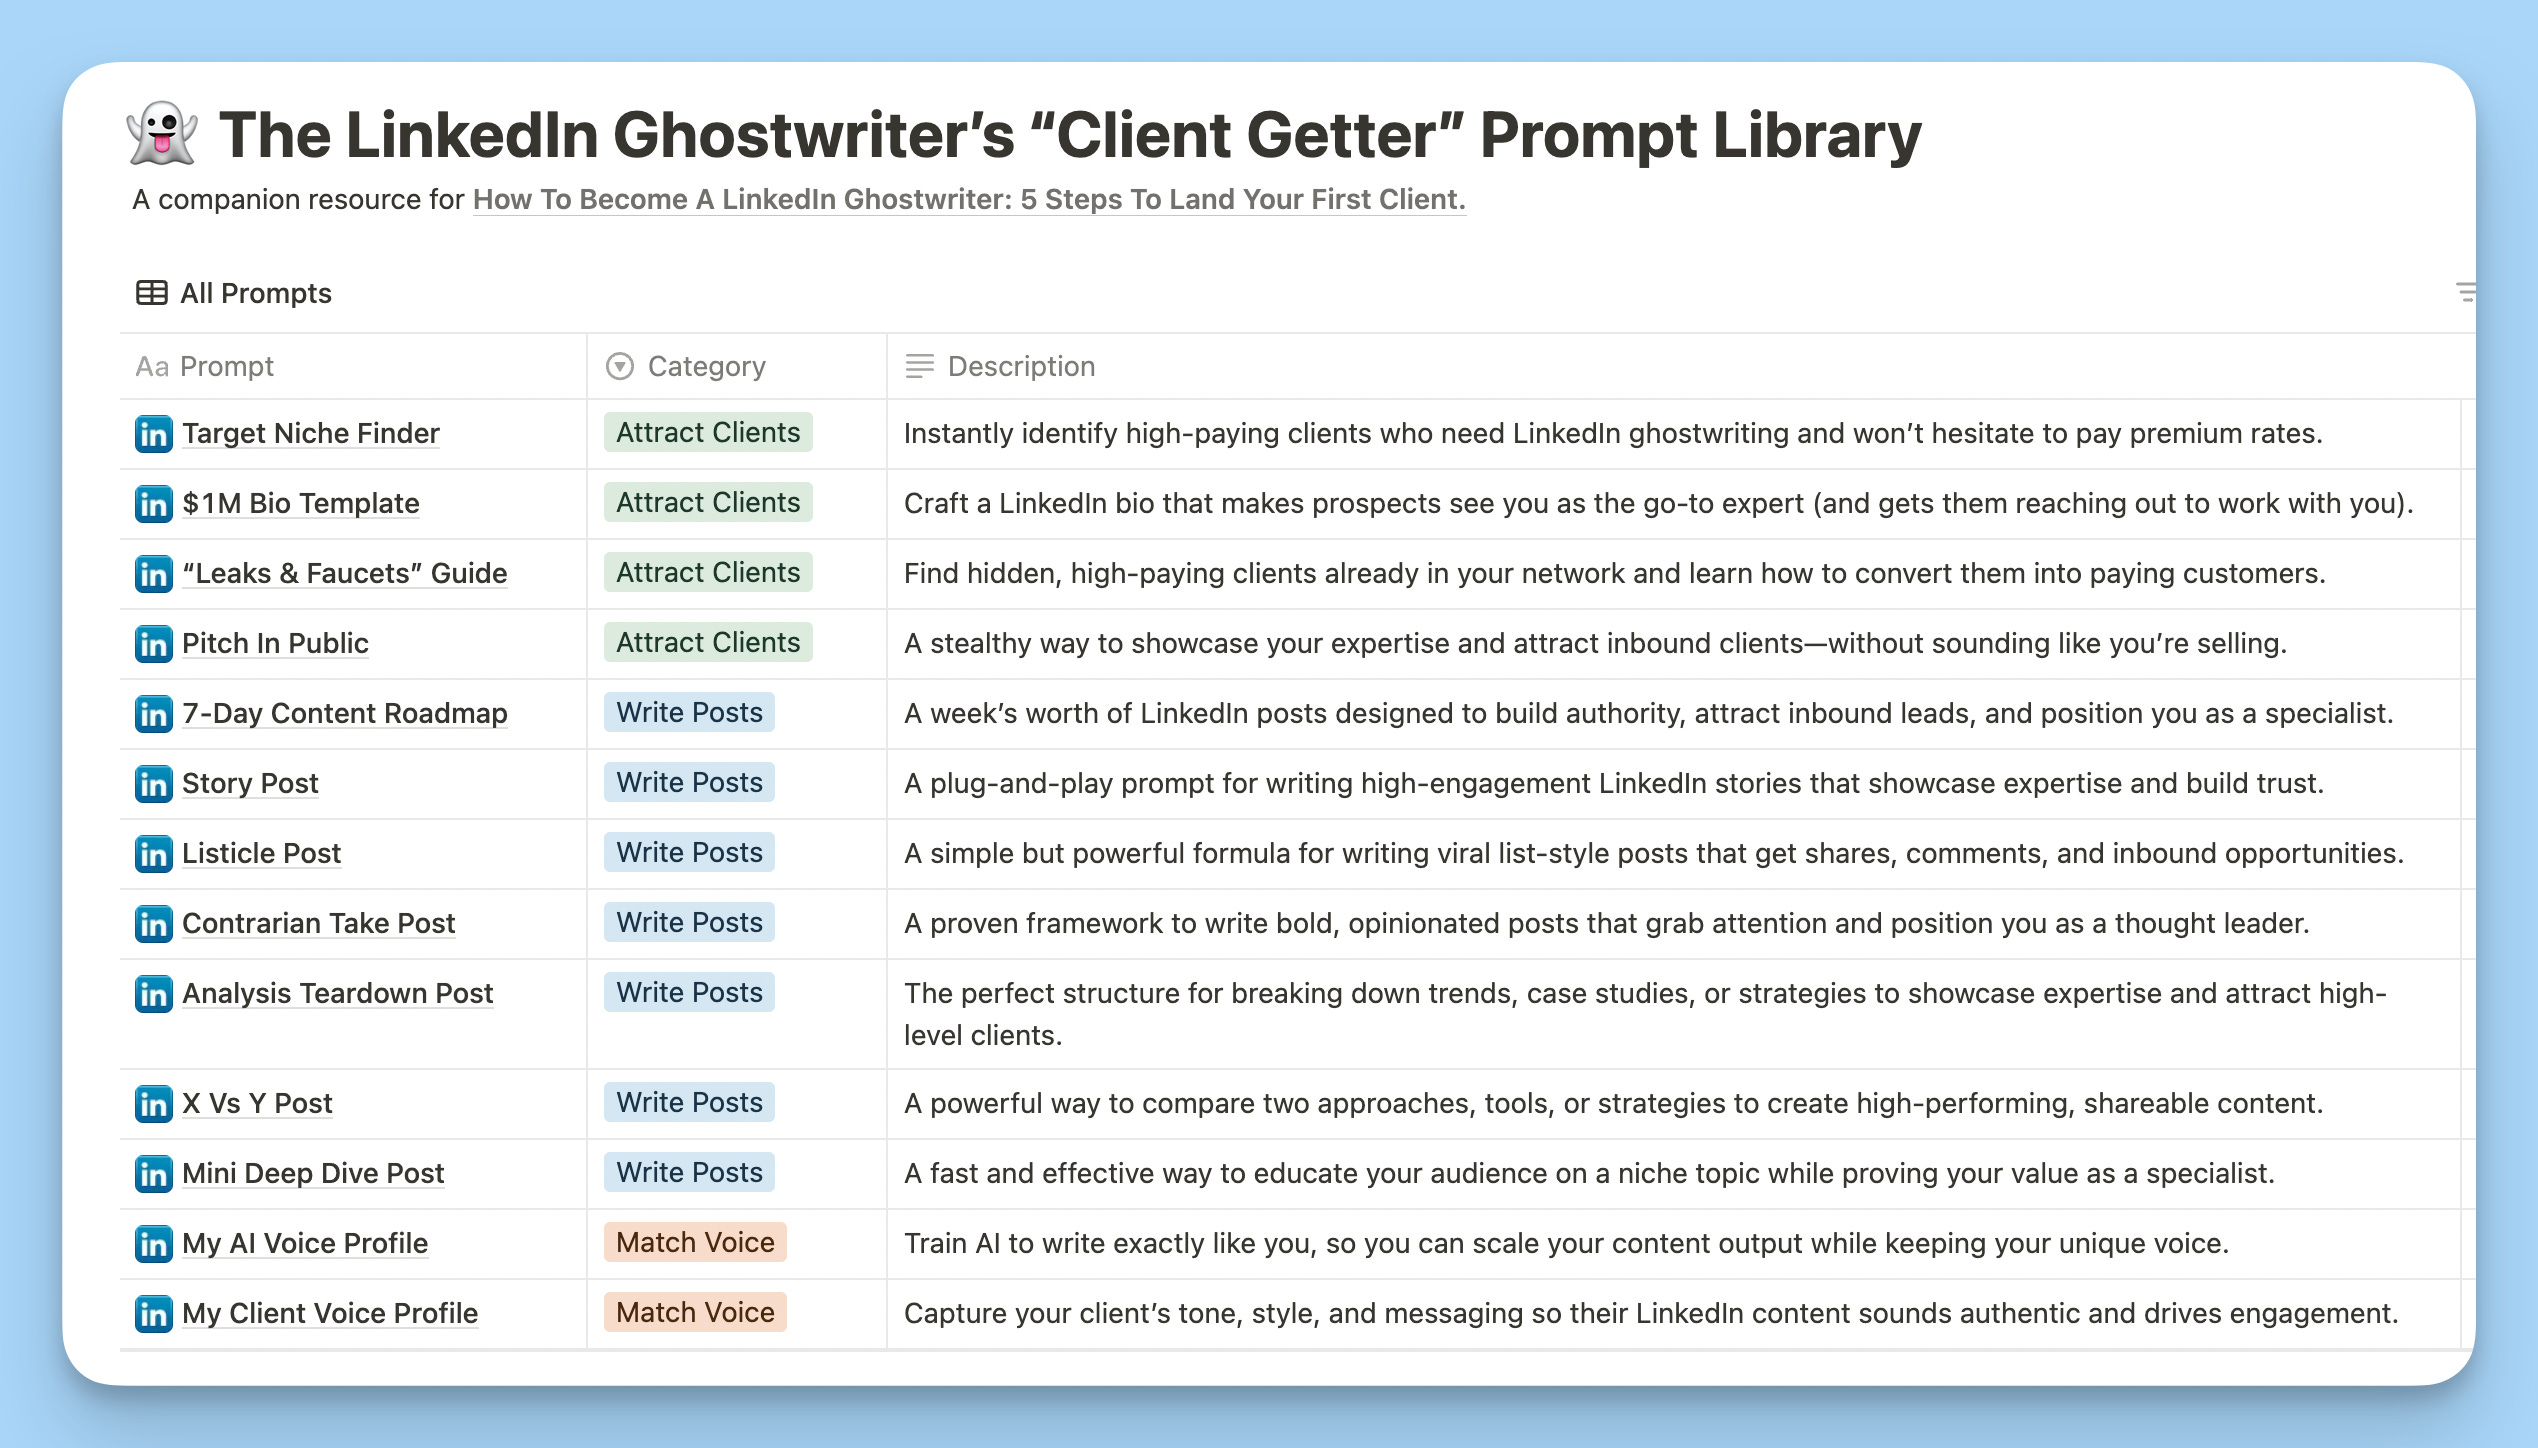
This prompt pack is available anytime—but if you join before Sunday, May 11th at 12AM EST, you’ll also get access to the LinkedIn Ghostwriter’s Prompt Pack as a bonus.
This library includes:
6 Social Post Prompts: Proven LinkedIn frameworks that have generated millions in client revenue (story posts, listicles, contrarian takes).
The 7-Day LinkedIn Content Roadmap: Build authority & attract inbound clients 1 day at a time so you stand out from the $30/hour generalists on Upwork.
And The Ultimate Pitch-In-Public Prompt: Create content that makes dream clients reach out to you. Showcase your expertise without being salesy.
It’s available until Sunday, May 11th at 12AM EST, then it moves back into the Founding Members Vault.
Click the links below for access.
You’ll get both of these packs instantly for $20 (with a 7-day free trial)—plus access to 200+ writing prompts, lessons, and frameworks inside Write With AI (a $5,000+ value).
Here’s the links:
Keep reading with a 7-day free trial
Subscribe to Write With AI to keep reading this post and get 7 days of free access to the full post archives.